Wednesday, December 21, 2011

Wild Card Wednesday :Chipboard Photo Book

I won the challenge so here you go!! Thanks for letting me share my idea I loved creating it.


Okay let me explain how this idea came to be. Every month over here at Talented Terrace Girls we have a challenge where we are given an item and told to “create” something AMAZING! Well this month we were given chipboard. After much deliberation I decided to make a photobook! I have always wanted to create one from scratch but was always a little intimidated until NOW!

Supplies: chipboard, scrapbooking paper, pictures, scissors, glue (mod podge or elmers), embelishments (ribbon, brads, clips, stickers, etc…)


First cut your chipboard to 4”x 4”. I cut 16 pieces and used 2 of those for my covers. If you have a husband who lays carpet like me then you can find a cool knife to cut your boards with ease.
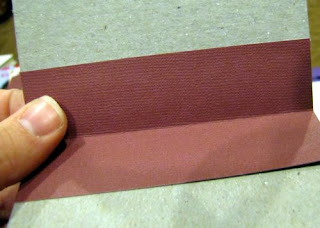
Now cut some paper you will use for binding the book, you will need 1 less then the number of pages you have. I have 14 pages so I cut 13 binding strips. This paper can be seen or unseen. I choose to leave mine seen so I didn’t clog up the page centers. I picked my solid colored paper and cut it to 4”x 2”. Now fold it in half length wise (hotdog style) with the pretty sides facing each other (kissing). 


Now take 2 pages and 1 binding strip. Glue the strip onto the 2 pages so it opens like a book. The paper fold will face out leaving 1” pretty inside each page.  Continue to glue all your pages together using your binding strip in between each page. Make sure to keep them as straight and flush as possible to create a more precise book.Once they are all glued together I added a thick layer of glue to the back of the binding to give it a little extra strength.


Now the cover! Take a large sheet of scrapbook paper lay it pretty side down, white side up. Then place both your front and back cover on the paper. But wait.. what is the little skinny piece in the picture?? The spine of your book of course! To make the spine cut a 4” piece then place the binding side of your book on the 4” piece and measure or trace the width of your spine. Cut it out and placein between your covers. Leave a little space between your chipboard so you have moveablitiy, allowing you to open and close your book. Now glue your cover and spine to the paper leave a 1” paper excess on each side. Now cute the corners of the paper off (the little green triangle).  Now get ready to wrap your book cover! You are going to fold and glue each side down making crisp corners.


Your cover should look like this on the inside.

Next cut 2 pieces of paper 4”x 8”  This is the inside page that is attaching your cover and pages together. Fold this paper in half (hamburger) so you have a 4” square on each side of the fold. Cover your first page of the book with glue, then place the 8”x4” paper onto the front page. You need to have the fold match up with the binding side. Let dry for a minute so it won’t shift on you. Then put glue on the inside cover and attach the other half of the 8”x4” paper to the cover.  This paper is what holds your cover and pages together. You wont be adding glue to the spine.If you want to tie some ribbon onto the spine of the cover now is the time. Next attach the back cover. TADA!! You have assembled your book.
Now cut and decorate the pages! I cut my main page paper 4”x 3.5” this left a little of my binding color showing on each page. After I attached the main page paper I scuffed it with a little brown ink to give the distressed look.


Let me explain the use of my book-One of the family traditions I grew up with was….Christmas morning pictures on the stairs! Now mind you this picture was before we got to open our stockings and while we were still wearing our new jammies from Christmas Eve. But this pic is from Christmas eve (it will be removed later) I may have printed the wrong pic and the ones from the stairs i printed 4x6 zoomed in so they can't be cropped meaning they can't fit. I plan on printing them as wallets and then they will fit PERFECT!!.  Lets just say mom has a ton of these Christmas morning pictures so this book is going to be our yearly  Christmas morning pictures 


                                                               Here is the cover completed!


This is a look at all the fun paper I used.

I love my little book and can’t wait to make more for gifts or even a fun little book for my kids representing each of their school years! I even have a pack of school paper i can't wait to use!!!   


Linking up with!!


http://trophyw.blogspot.com/

Tuesday, December 20, 2011

Sweet Tooth Tuesday: Fudge, Fudge, and More Fudge!

Hey Ya'll!!! You're in for a TREAT today. Three Yummy fudge recipes!

Symphony Fudge:

In a heat resistant bowl add:

·        1 cup butter

·        3 king size or 1/2 pound symphony bars broke into small pieces

·        Set aside

In a large saucepan add:

·        4 cups sugar

·        2 cups heavy cream

·        Stir until mixed and bring to boil on medium heat. Do not stir when it starts to come to a boil! When it boils, cover with a lid and let it boil for 1 minute. Remove lid and boil 7 more minutes. Take off the heat and mix with butter and symphony bars. Whip with beaters and pour into a greased 9x13 pan for thicker fudge or a cookie sheet for thinner fudge. Refrigerate till firm.

Enjoy!!


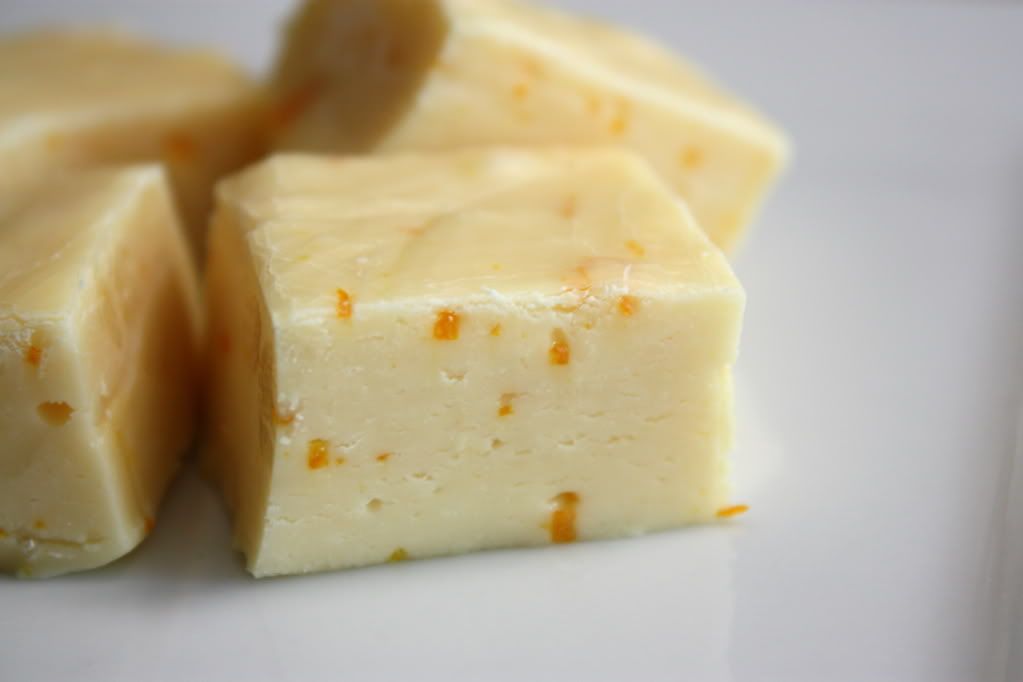
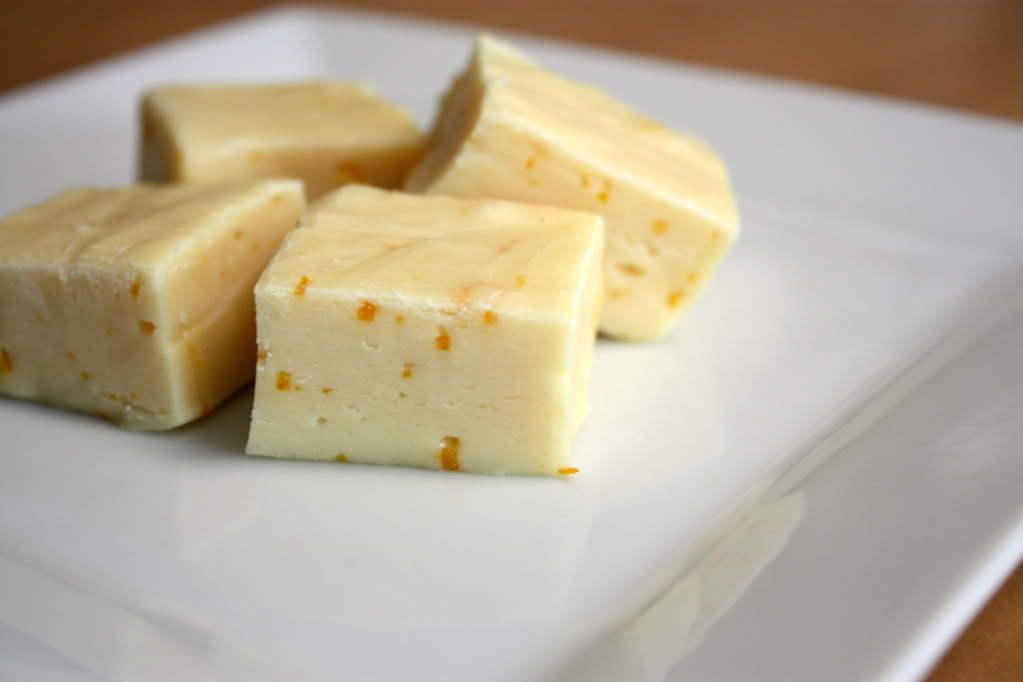
So I was inspired over the weekend by Dana's Fudge Recipe, and if I had all the ingredients, I would have totally made it. Instead I went to the pantry and since I've been on an Orange Creamcicle kick, I made some Orange Creamcicle Fudge.


And this fudge was super easy to make. Yes I cheated by using the microwave, but the end product is Super delicious!

Orange Creamcicle Fudge
·        2 12 oz bags of White Chocolate Chips or 2 14oz bags of Wilton White Chocolate Melting Chips {which is what I used}
·        1 Orange Zested
·        1 Tbl Orange Emulsion
·        1 Can of Sweetened Condensed Milk
Directions:
1.      Take a 9x13 pan and line it with Wax Paper. This makes it alot easier to take the fudge out & cut into squares.
2.      In a microwave safe bowl, melt the White Chocolate Chips according to the package instructions.
3.      Mix in the Sweetened Condensed Milk, Orange Zest, & Orange Emulsion.
4.      Pour into the pan & spread evenly.
5.      Refridgerate for at least 30 minutes to let it set.
Enjoy!
Hi Amazing readers this is Teresa and growing up this was the only fudge we had. It is rocky and chunky! When i was a teenager i ate other fudge and wondered where the chunks were :) I didn't know people made fudge so smooth and creamy.

ROCKY ROAD FUDGE! 


*Use a heavy pan so you don't need to stir as often if you use the lighter weight pan you will need to stir consistently.


·        2 cubes butter
·        1 can evaporated milk (13-oz)
·        4 C. sugar

1.      Combine 3 ingredients boil over medium heat- when the boiling starts keep it at a boil for 9 minutes take off the heat and add in order.

·        10-oz miniature marshmallows (save 1 cup for the last 5 stirs to give an even rockier drive to your road!)
·        2 C. semi sweet chocolate chips
·        1 C. milk Chocolate chips
·        1tsp. Vanilla
·        1 C. nuts optional

2.      Stir well pour into buttered 9x13 pan let cool cut and enjoy.

Enjoy!

Monday, December 19, 2011

Munchkin Monday : Last Minute Homemade Gift Ideas for Kids

So I thought I would put together a Round-Up of projects that can be easily made if you're still looking for something...for someone this Christmas Season.  Click on the title & it'll send ya to the appropriate tutorial :)


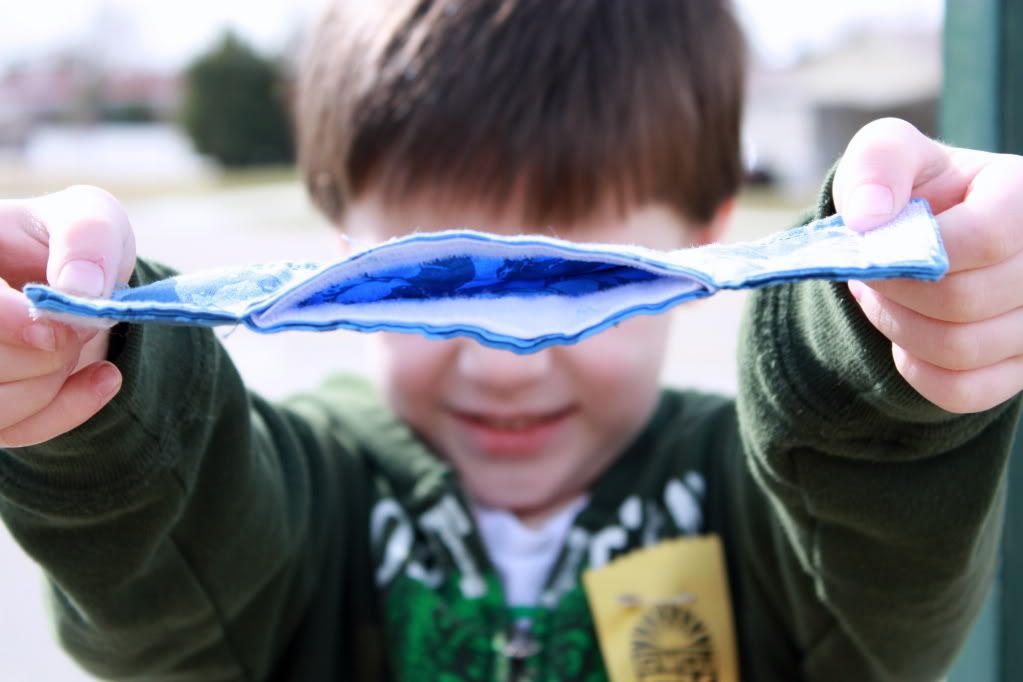
I made this last year for my little girl.  I just used leftover fabric I had hanging around & was very simple to put together :)


I made these for my kids earlier this year & they were super simple!


 The ability to buy a shirt, print an image out, cut said image out and put it onto a t-shirt is so much fun!  There are endless possibilities :)


Applique Shirts

Fabric + Fusible Interfacing = Great T-shirts you can make for your kids


I hope this gives ya'll some fun ideas!

I’m Linking up to these Awesome Blogs!

Friday, December 16, 2011

Foodie Friday: Homemade Chicken Pot Pie

This is definitely one of my family's favorite meals!  They never complain when I make it.  I found this recipe about a year ago and have yet to tire of it.  I usually make this for dinner one night and freeze the other pie for another night when I don't feel like cooking.

(the family demolished it before I could get a good picture)
Yields 2 pot pies (6 to 8 servings each)
4 cups cubed cooked chicken (ham, shredded beef or turkey) (when I cook my chicken I simmer it in some chicken broth)
4 medium potatoes, peeled and diced
2 cups sliced carrots
1 medium onion, chopped
1 cup butter or margarine
1 cup flour
2 1/2 teaspoons salt
1 tsp pepper
3 cups chicken broth ( I do 3 cups watter and dissolve 4 chicken bouillon cubes)
1½ cups milk
1 cup frozen peas
1 cup frozen corn
pastry for two double-crust 9-inch pies (you can buy the ready made crust or make your own, I make my own, I'll put the recipe at the bottom.

Boil potatoes and carrots in a large stockpot. In another pot, boil cubed chicken for 8 minutes. Reduce heat, cover, and simmer vegetables for 8 to 10 minutes. Drain vegetables and chicken and set aside.
In a large skillet, sauté onion in butter until tender. Stir in the flour, salt, thyme, and pepper until blended. Gradually stir in broth and milk. Bring to a boil; cook and stir for 2 minutes or until thickened. Add the chicken, peas, corn, potatoes, and carrots. Remove from heat.

(This is without the chicken, potatoes, and most the carrots.  It will be thicker after boiling when you add it to the crust)

Line two 9-inch pie plates with bottom pastry; trim even with edge of plate.
 Fill pastry shells with chicken mixture. Roll out remaining pastry to fit top of pies. Cut slits or decorative cutouts in pastry. Place over filling; trim, seal and style the edges.

 Bake one pot pie at 425ºF for 35 to 40 minutes or until crust is lightly browned. Let stand for 15 minutes before cutting.

If freezing one pie, line the pie plate with foil, spray the foil with non stick spray, and prepare as the other one.  Place in freezer.  When It is completely frozen (and i mean completely) remove from pie tin and wrap with foil, put it in a freezer bag.  Write date on the bag, along with baking instructions.
To serve frozen pie: Cover edges of frozen pie crust with foil; place on a baking sheet. Bake at 425ºF for 30 minutes. Reduce heat to 350ºF and bake for 70 to 80 minutes longer, or until crust is golden brown.

For the veggies, you can use a bag of mixed frozen veggies and have whatever kind your family prefers. 


Buttery Pie crust
Yield: four 9-inch pie crusts

5 1/3 cups flour
¼ cup sugar
1 teaspoon salt
¾ cup shortening
1 1/3 cups (2 sticks plus 5 tablespoons) butter, cubed
1 cup ice water


Mix together the flour, salt, and sugar. Add the shortening and cubed butter cut it in until it's flaky. Add the ice-cold water a few tablespoons at a time.  Mix until it begins to clump together. Stop and feel the dough; it should be just moist enough that it can clump together. If necessary, add more water by teaspoonfuls.  The dough should not form a ball; it should remain flaky.

With floured hands, divide it into 4 wedges. Shape each wedge into a disk shape, wrap each plastic and place all four disks in a large zip-top freezer bag, label it “Pie crust, 400ºF, 35-40 minutes,” and freeze.


To Serve
Remove one (or two, if making a double crust) pie-dough disk from the freezer and warm in the microwave until pliable. (20-30 seconds). Roll dough out using a sheet of plastic wrap on top and bottom to keep it from sticking to the counter or roller. Peel off one layer of the plastic wrap and place the dough in a 9-inch pie pan. Then peal off the top layer of plastic wrap. If you are adding a top crust, place the filling in and add the crust on top. Make 2 or 3 slits in the top and pinch the dough around the edges using your thumb and two fingers (from the other hand) to give it a finished look. Bake on the bottom wrack at 400ºF for 35-40 minutes.
If your recipe calls for a pre-baked crust, preheat the oven to 400ºF and prick the dough all over with a fork. Line the crust with foil and place a cup of dry rice or beans (or use pie weights) in the foil to weigh it down. Bake in the oven for 15 minutes. Remove crust from the oven, cool for a few minutes, and carefully remove the foil and rice, beans, or weights. Reduce the heat to 350ºF and cook for an additional 10 minutes, until the crust is golden. Cool completely before filling.


I'm linking up to these Fabulous sites:

Thursday, December 15, 2011

DIY Thursday: Christmas Tree Ruffle Skirt

This has been my favorite thing I have made this year, I LOVE IT!! and it was so easy
The best part is that everyone can do it, there is no sewing.
You can make it any style you want, wild and bright, traditional Christmas colors, or i went the soft vintage style. MY FAVORITE.
I found this skirt ideas on Pinterest Logo
there are a few tutorials out there but I found this one very simple and easy to follow
if you want to make a fun tree skirt, check it out here.


I'm linking up to these Fabulous sites: