Friday, May 31, 2013

Foodie Friday: Chocolate Pancakes with Homemade Syrup

I am a total believer in breakfast and get sick if I end up skipping it. I get kind of tired of having a bowl of cereal every single morning so I enjoy switching things up every now and then. My kids really like these-especially my little guy which I was a little surprised about! The pancakes are not too sweet, but the syrup makes up for that :). The recipe doesn't normally call for chocolate chips, but I think the next time I make these I may put in some chocolate chips. Yum! See what your family thinks of these!


Chocolate Pancakes:

  • 1 1/2 C flour
  • 3 tsp baking powder
  • 1/2 tsp salt
  • 6 Tbsp sugar
  • 6 Tbsp cocoa
  • 1 1/4 C warmed milk
  • 4 Tbsp butter or margaring, melted
  • 2 eggs, beaten
Mix and sift together dry ingredients. Add milk, butter, and eggs and beat until smooth. Add extra milk if the batter is too thick. Cook as you do regular pancakes. Serve warm with syrup.

Syrup
  • 2 C sugar
  • 1 8oz can evaporated milk
  • 1 Tbsp butter
Boil sugar and milk, stirring constantly until all the sugar is dissolved. Cook over high heat until the mixture starts to boil. Do not leave unattended as it comes to a boil quickly. Remove from heat and add butter. Let sit for 5 minutes. Stir and enjoy!


Thursday, May 30, 2013

DIY Thursday: Homemade Garbage Disposals Refreshners

I hate when my garbage disposal smells.  It makes me wanna puke.  I always buy those disposal freshners but they can get kind of expensive.  I came across this homemade disposal recipe on pinterest and thought I would give it a try.

What You'll Need:
  • 3/4 cup baking soda
  • 1/2 cup salt
  • 1/2 teaspoon liquid dish soap
  • 1 lemon
  • Sheet pan
  • Parchment paper
  • Small spoon or scoop 
1. Mix the baking soda and salt in a bowl together.  Make sure to get rid of any lumps.
2. Then zest your lemon into the bowl.  After zesting the lemon cut in half and squeeze the juice in the bowl. 
3.  Add the dish soap

4. Mix the zest, juice and the soap together.
5. Scoop out using a spoon or cookie scoop and put onto parchment paper
6. Let dry overnight. When they are hard put in plastic bag or jar.

When you disposal is smelly grose pop on in and turn on the switch.

Notes: I like these alot.  They work well when you need to freshen your disposal.  I still really like the ones from the store better.  But I think I will be using these inbetween when the disposal isnt that bad.  The ones from the store really clean out your disposal. 

I also got lemon juice and dish soap happy.  I used two lemons and more dish soap which make it wet so they didn't harden.  I guess I should learn to follow directions.  I just love the lemon smell apparently. 

Wednesday, May 29, 2013

Wildcard Wednesday: Monster High Party


My daughter turned 8 this year!!  Holy cow!!!  I'm getting old....
I wanted to do a big party for her since that is a special birthday.  In the LDS religion, 8 years is the age when a child becomes accountable for their actions.  To learn more about this, visit Lds.org to learn more about our beliefs  
She is obsessed with Monster High so I wanted to do her a fun party with that theme.  This Post is kind of a teaser....I am going to do the tutorials on later posts....but don't worry, if you pin this post I am going to come back to it and add the links to the future tutorials as I do them so you can have them =)
Her party was crazy fun.....I had planned on only about 12 girls but ended up with 17!!!  You gotta love those parents who don't rsvp....luckily I made extra of everything....
I probably could have Bought a cake from the bakery with the Monster High theme but I love making the cakes myself.  It was easy to the skull.  Just use chocolate and trace it and then let it harden.  The tutorial will be linked here:  Skull topper.  I also blinged out her candle because the only one I could find was an ugly red  polka dot one. 
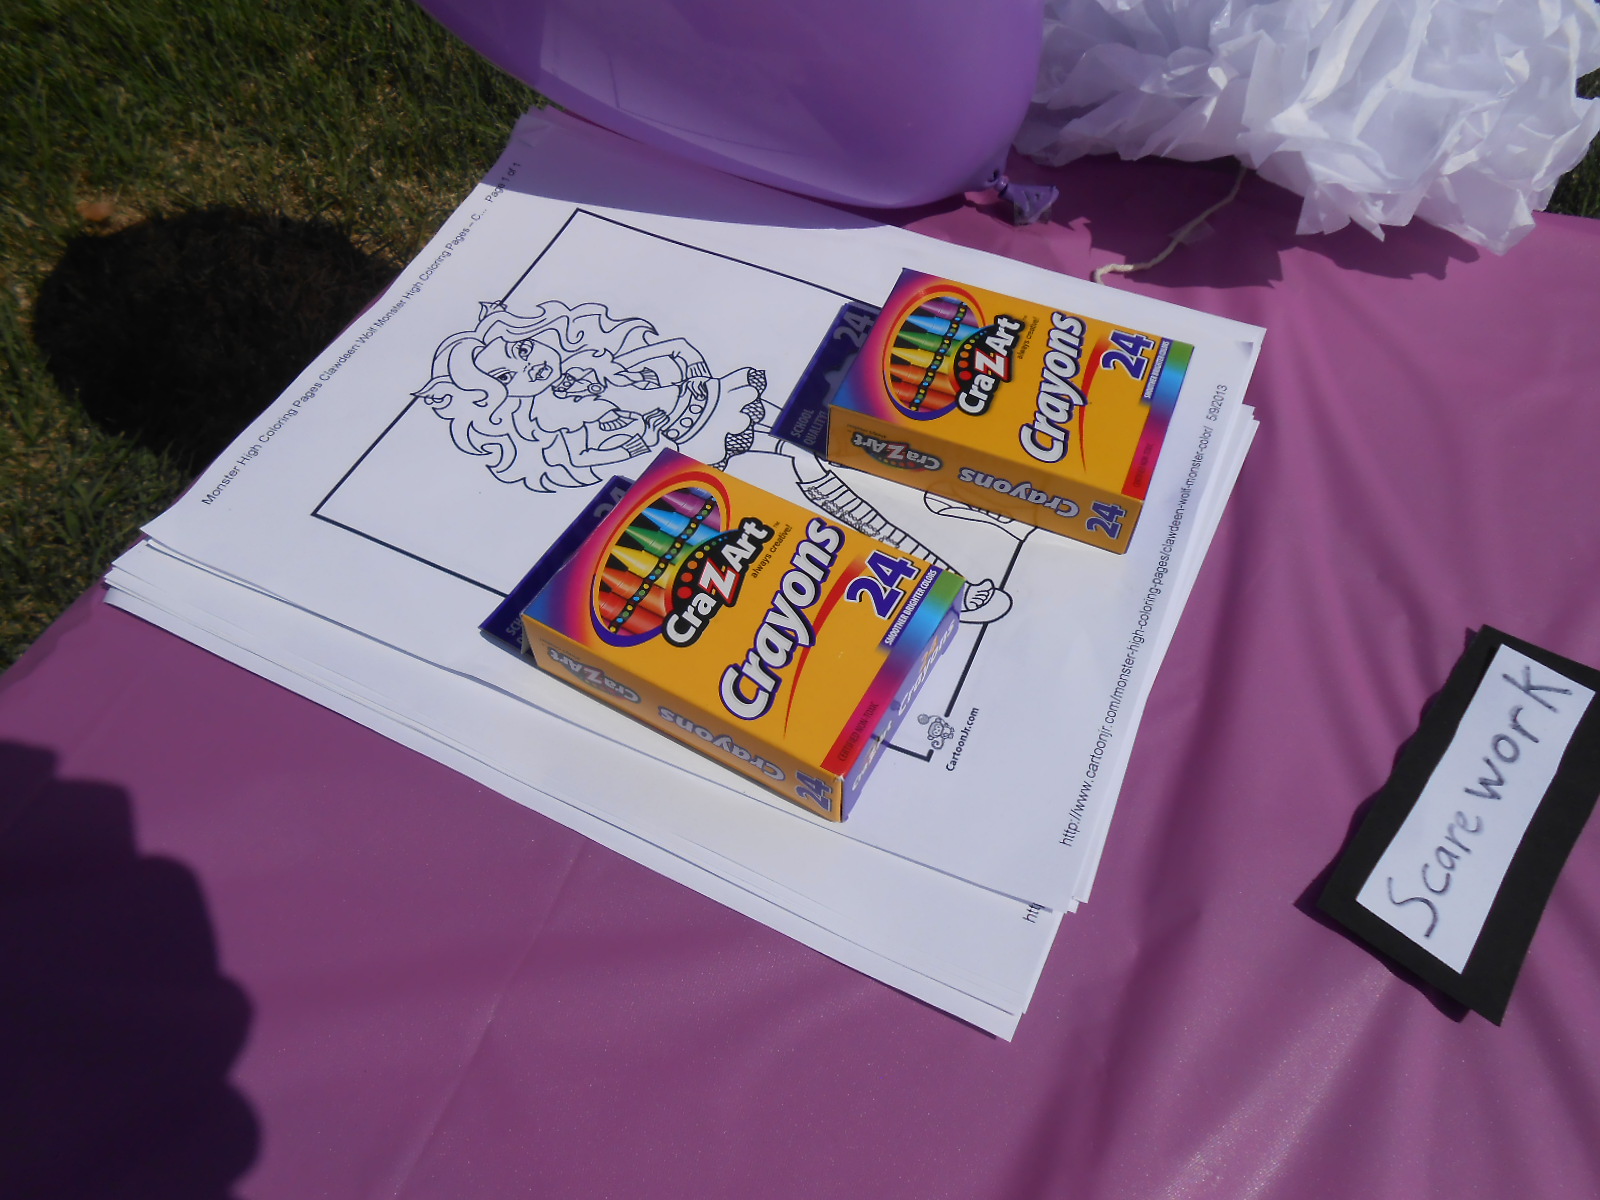
To keep them all occupied as we were waiting for some of the girls to shop up, I printed out a few pages of different Monster High characters for them to color.   Here is the link to the website I got them from: Coloring Pages.  I called it "Scarework."


So just ignore the handwritten papers....I had some cute printouts all designed to use but then when I went to print them at my sister's house her printer wasn't working and then I didn't have to time to get them printed before the party (I barely had time to shower before.....) But I wanted some fun activities so I cut out these felt masks and then had the girls decorate them with the glitter paint,  I called it "Monster Fashion."


This was a fun game!  It was called "Mummy Wrapping."  The girls all chose a partner and then wrapped their partner as a mummy.  A prize went to the best mummy.


For another activity, we did "Claw Painting."  The girls had fun painting their nails.

Next, it was time for food!  Yum!!  This is where the teaser comes in....I will do the tutorials on another post =)


Cleo's Mummy Dogs.  I used the same recipe for this as I did my mummy dogs from a few Halloween's ago.  Here is the link: Mummy Dogs (sorry the pictures aren't there....I deleted some pictures and didn't realize they were linked to the blog...)

Skelita's Sugar Skulls
(Koolaid Popcorn)

Laguna's Sushi

Ghoulia's Juice- any juice you want...I just used Koolaide =)
I forgot to get a picture of everything together so you'll have to just make do with the individual stations....I got a bit busy when 17 girls showed up instead......


Wednesday, May 22, 2013

Wild Card Wednesday: Boy Race Car Birthday Cake


So my little guy's birthday was this past Saturday and as I was contemplating what kind of cake I wanted to make for him I finally narrowed it down to a car cake of some kind since he is way into cars at the moment. I google searched car cakes and found an idea quite similar to this one I did. I saw this and knew it was exactly what I wanted. For the link to the cake I found click here. 


First thing I did was grab two pieces of paper and my two 8" round pans and traced each one on the paper. I then cut them out so I had two circles. I cut a little bit off the first circle so my cakes would fit nicely together. You can see this better in the next picture.


I then traced the number two on my paper. This is my outline for the cake and for especially making the "2"


Next I baked my cakes. I did two round cakes with two layers. Using my outline I created I cut the cake where I needed to have them fit nicely together.


Next I covered the bottom layer with some homemade buttercream frosting I made and lightly frosting the top layer. It didn't need to be frosted perfectly on top because I would be adding more frosting on later.


 For the number "2" I was going to use fondant like the gal said she was going to use, but then I thought oh what the heck I might as well try the same stuff she used cause it looked like it turned out alright so I did and I was glad that I did. For a tutorial on how to use modeling chocolate click here.  Below is  my black chocolate :)

I then rolled my chocolate out on the counter. Make sure to sprinkle some cornstarch on the surface otherwise the chocolate will stick to the counter!!! I cut up my number 2 to make it a little easier to cut and handle.

d


Here's the my 2 on the cake:)


I then filled in the areas missing frosting.


I then covered the top of the cake with more frosting and used a Wilton tip #21 to make it look like grass along the race track.


For final touches I put in two candles, two toy cars and lined the race track with some yellow gel I got at the store. I was a little bummed that the yellow was a see-through yellow rather than like an opaque yellow if that makes sense, but nevertheless it still turned out cute and my little guy loved it!

Friday, May 17, 2013

Foodie Friday: Tortellini Salad

I recently made this salad for a family gathering and it was a huge hit! It would be the perfect salad to serve at your family parties/bbq's this summer. Make sure to double the recipe cause it doesn't make very much unless you plan on just making some for your own little family. Try it out and see what you think!

Tortellini Salad


Salad
  • 1 large pkg frozen cheese tortellini
  • 1 16 oz can black olives, halved
  • 1/2 c cheddar cheese, cubed
  • 1 medium head broccoli
Dressing:
  • 1 cup mayo
  • 1/4 cup Parmesan cheese, grated
  • 1 tsp marjoram
  • Milk
  • Juice from half of a small lemon
Cook tortellini according to package directions. Drain. Allow to cool in the fridge. Meanwhile cut up all other salad ingredients and put into a large bowl. Combine dressing ingredients in a small bowl, using just enough milk to create a dressing consistency. Pour over salad. Toss tortellini into salad. Refridgerate for 30 minutes or as long as overnight. Make 10 servings.


You can find this awesome post linked up to the following Fantastic Parties:


Thursday, May 16, 2013

DIY Thursday: Chalkboard Table

My kiddos love to write with chalk. Usually its outside on the sidewalk and then the chalk gets left outside and stepped on or the sprinklers get it. Luckily the dollar store has cheap tubs of chalk :-) The past while I have noticed that in the mornings before I get up they have been playing school and using these tiny chalkboards i found at the dollar store ( I like that store :-) ) They don't quite work with 2 kids trying to write. So I had the idea of turning a coffee table into a fun chalkboard table. So I started keeping my eye out for people selling old beat up tables for cheap. (In case you haven't noticed, I'm super cheap) It took a few months but someone was selling the almost perfect table for $5!!!


Can't beat that! The only thing it was missing was a drawer (I wanted a drawer to be able to keep the chalk supplies in).

Once I got the table it was time to get to work. I turned out easier than I thought.  All I had to do was lightly sand it to.get the top shiny coat off.

Then once that was done I got some cute spray paint and sprayed it. Once it was dry I noticed there were bubbles in some parts so I sanded those down and sprayed over those parts. If you look close you can still see them but since this is just for my kids I wasn't worried about getting it perfect.


 Then.I got some chalkboard paint from the craft store. There are recipes to make your own but I didn't feel like doing that.


It took about 4 coats of it to get it covered but I blame that on my crappy paint brush....I thought I had a good paintbrush but I didn't and I didn't want to go to the store again. Once you let the paint dry, the bottle said 24 hours, you are good to let the kids have fun!! This will be great in the winter or those days the kids wake up at 6am in the summer......

Wednesday, May 15, 2013

Wild Card Wednesday: Green Smoothies


I decided to jump on the bandwagon and try out green smoothies.  I had one day and decided I really need to make this a daily part of my diet.  I started doing some research for recipes, etc and found they had many health benefits.  I have noticed a big difference in how they have helped me.  My body seems to function better when I have had one.  I really crave them when I don't have one. 

Here is my basic recipe
2 cups spinach
2 cups frozen fruit
2 cups water
1/2 cup apple juice (with no sugar added)
sometimes I add a tablespoon of Honey or Agave.  Usually its sweet enough without. 

Since I have a simple and cheap blender I start by blending the spinach and water and apple juice.  I then add the frozen fruit.  I have done many combo's of frozen fruit.  I buy my spinach and fruit at costco.  Of course you don't have to buy it there but it is cheaper to buy in bulk. 

Here is some combo's I have done
strawberries and banana's
strawberries, mangoes, pinapple, papapya
strawberries, blueberries, raspberries, blackberries

Try them out they are really good. 

Tuesday, May 14, 2013

Sweet Tooth Tuesday: Mint Brownies


 I found the original recipe over at How Sweet It Is, one of my favorite blogs to follow.  Once I saw it, I had to try it.  Mint Brownies are one of my favorite things....mint and chocolate go so well together =)


Mint Brownies
1/2 cup butter, at room temperature
1 1/2 cups granulated sugar
2 large eggs
2 teaspoons vanilla extract
1 1/4 cups all purpose flour
1/4 teaspoon salt
3 tablespoons cocoa powder
2/3 cups chocolate chips 
mint layer
2 cups powdered sugar
1/4 cup unsalted butter, softened
1/2 teaspoon vanilla extract
1 tsp creme de menthe extract
chocolate fudge layer
1 1/2 cups chocolate chips
4 tablespoons unsalted butter
Preheat oven to 350 degrees F.
Butter and flour a 7x11 inch cake pan.
Cream butter and sugar. Add eggs one and then add vanilla. Mix in flour, cocoa and salt, mixing until just combined. Fold in chocolate chips.
Spread batter in the pan. 

Bake for 25-30 minutes, or until toothpick inserted in center comes out almost clean. Let cool completely before adding mint layer. 
When cool, add mint layer.
Mint Layer:  Beat butter and powdered sugar together until combined. Add in creme de menthe and mix until smooth and mixture completely comes together.  Add more or less powder sugar until reaches spreadable consistency, but not runny. 


Spread on brownie layer, then refrigerate until set, about 1-2 hours.

Chocolate fudge layer: Melt chocolate and butter together, then pour over top of mint layer. Refrigerate until set, another 1-2 hours. 

Sprinkle with some mint chips =)


You can find this awesome post linked up to the following Fantastic Parties: