Showing posts with label party ideas. Show all posts

Monday, October 7, 2013

Trash Bag Spider Webs and Garlands

Here is a fun easy cheap and cute project that will cost you at most $1.00. Black Trash Bag Spider Webs! I got this idea from How About Orange created by Jessica Jones. Such a cute site by the way. Now I will allow her to tell you how to make the spider web, because she has a really great explanation but I want to show you another variation that I came up with my mistake. Trash Bag Spider Web Garlands.
Aren't they cute? This was totally an accident, I made by first spider web and it was awesome but the second time I forgot to follow the directions. he he. And I did not just do it once I did it twice. Sooo I really know how to do this well. First you just need to fold the trash bag just like you would for the spider web. Cut it into a square and then fold it three times to get a triangle that looks like this.


Now one difference in what How About Orange and I think is that she says to just do one side of the trash bag at a time. But that took me forever so i found that if I taped it like she said to, and was very careful,  that I could do two webs, or garlands at once. Now if you look above you will see the difference of how you position the triangle so you get the web or the garland. In the picture it kinda looks like I just flipped over the triangle but that would make no sense so let me talk or write through it. If you position the triangle with the center of the square or the completely folded side on the bottom you have the spider web. But if you rotate it so the top left point is now on the bottom then you have the garland version. Then you just continue with the steps. I draw my web with a sharpie like she suggested, then you cut it out.

Now when you open it up it will look like this. So don't freak out, it is alright.
Now all you have to do is cut two strips from one side like this.
How cute right? And if all else fails just wing it. I had another mishap and created a chandelier so just have fun with it and Happy Halloween!!

Wednesday, September 11, 2013

Wildcard Wednesday: Floating "Harry Potter" Candles

I have done a few posts recently about my younger sisters bridal shower, which was tie dye theme, and now we move on to the bachelorette party which was Harry Potter theme. (Yes my sister is that awesome.) One of the decorations I made is floating candles, like you might find in the main hall at Hogwarts. :)
I looked at a lot of websites to find ideas for the party and a few of them had floating candles, unfortunately I can't remember what sites they were. Sorry... kinda...

So the process was pretty simple. You need paper (white and yellow), scissors, tape or glue of some kind, a needle and thread, and something narrow and round to roll your paper around.
 Cut the white paper in half, hot dog style, and wrap it around your tube. (Mine was from the middle of a wax paper roll.) Use tape or glue to hold the paper together.
 Then simple slide the paper off the tube.
 I made like one hundred of these, a little over ambitious in hindsight.
 Next comes the flame part of the candle. I didn't want to sit there cutting out every single flame so this is the easiest way I came up with to make more than one at a time. Take your paper and cut a squiggly line down the long side of the paper.
 Then carefully make another squiggle cut going the opposite way.
 You can just pull apart the flames and use a little more glue or tape to attach them.
 To make your candles "float" take your needle and thread and poke a small hole in the flame part of each candle threading through them. I kept it to 10 candles per strand because they did get a little heavy.
 Below you can see our Dobby trying to avoid hitting the candle with his tower of hats. :)

Just a heads up, do not make one hundred of these, unless you have the time to put them all up. But they really do look really cool and added a fun ambiance to the night for not very much money.This would also be a fun thing to make for Halloween.

Wednesday, July 3, 2013

Wild Card Wednesday: Duck Dynasty Party

DUCK   DYNASTY   PARTY
For those of you that love the show Duck Dynasty this is your party
We had so much fun and some good laughs.
Some of the stuff are moments form different seasons of the show.
"Hey, Hey It's party time Jack" 

I made this pinata from a balloon to look like a bee hive from one of the episodes the spend the whole show trying to get the honey out of the bee hive.

 We had mallow dogs (from one of the episodes)                             They are always drinking sweet tea but                                        
                                                                                                              we used apple juice instead


 We had some beards for a photo booth.
We asked that everyone dress in hunting clothes 

 Fun with the pinata 

If you are interested in having a Ducky Dynasty party. You can rent this party to celebrate with your friends and family. check it out here at Party In A Box

Friday, June 7, 2013

Foodie Friday: Koolaid Popcorn (Skelita's Sugar Skulls)

Here is another tutorial from the Monster High Party.  This is also a great snack when you do movie nights or to take to the park.  

2 cups Sugar
1 cup Light Corn Syrup
⅔ cups Butter Or Margarine
6 quarts Plain Popped Popcorn (I think I may have used more popcorn so maybe pop a bit extra and if you have extra sugar sauce, add more popcorn)
2 packages Kool-Aid (Any Flavor You Want)
1 teaspoon Baking Soda
Instructions
  1. Preheat oven to 225 F.
  2. Boil sugar, syrup and butter/margarine together for 3 minutes.
  3. On a large shallow ungreased baking dish, spread out popped popcorn.
  4. In a separate bowl, combine the Kool-Aid with the baking soda.
  5. Remove sugar syrup from the stove and carefully stir in the Kool-Aid mixture. (This will make the sugar mixture puff up. Be careful to not get burned.)
  6. Now take sugar mixture and pour it over the popped popcorn. Carefully mix all till combined.
  7. Place it in the oven and stir every 10 minutes. Repeat this 3 more times.
  8. Take popcorn out of the oven and when it starts to cool, break it apart into pieces.
  9. Enjoy!

Tuesday, June 4, 2013

Sweet Tooth Tuesday: Sweet Sushi Rolls (Laguna's Sushi)

Here is the tutorial from the Monster High Birthday Party I did awhile back.

6 cups rice crisp cereal
3 tbsp. butter
1 10 oz. pgk. marshmallows
gummy candies (worms, twizzlers, ect)
fruit roll-ups

In a saucepan, heat the butter and marshmallows until the marshmallows are melted.  Then stir in cereal.  In a greased 9x13 pan,  flatten until the bottom is filled (like you would normal rice-krispie treats)  Once it has cooled, cut them into rectangles.  I cut mine in half longways in the pan and then cut across.  you can get about 16 out of one pan if you do them a little smaller than I did mine.  Then get your fruit roll ups and cut them into about 6 in. strips (you want it long enough to wrap around treat)  then lay it down and put a rice-krispie square on top, and then add your worms or licorice and roll it up.  If your fruit roll up is longer, that's ok, that will help seal it closed.

another way is you can get fruit rolls, lay out the rice krispie on that, with some worms and licorice, roll up and then cut into small pieces.

Wednesday, May 29, 2013

Wildcard Wednesday: Monster High Party


My daughter turned 8 this year!!  Holy cow!!!  I'm getting old....
I wanted to do a big party for her since that is a special birthday.  In the LDS religion, 8 years is the age when a child becomes accountable for their actions.  To learn more about this, visit Lds.org to learn more about our beliefs  
She is obsessed with Monster High so I wanted to do her a fun party with that theme.  This Post is kind of a teaser....I am going to do the tutorials on later posts....but don't worry, if you pin this post I am going to come back to it and add the links to the future tutorials as I do them so you can have them =)
Her party was crazy fun.....I had planned on only about 12 girls but ended up with 17!!!  You gotta love those parents who don't rsvp....luckily I made extra of everything....
I probably could have Bought a cake from the bakery with the Monster High theme but I love making the cakes myself.  It was easy to the skull.  Just use chocolate and trace it and then let it harden.  The tutorial will be linked here:  Skull topper.  I also blinged out her candle because the only one I could find was an ugly red  polka dot one. 
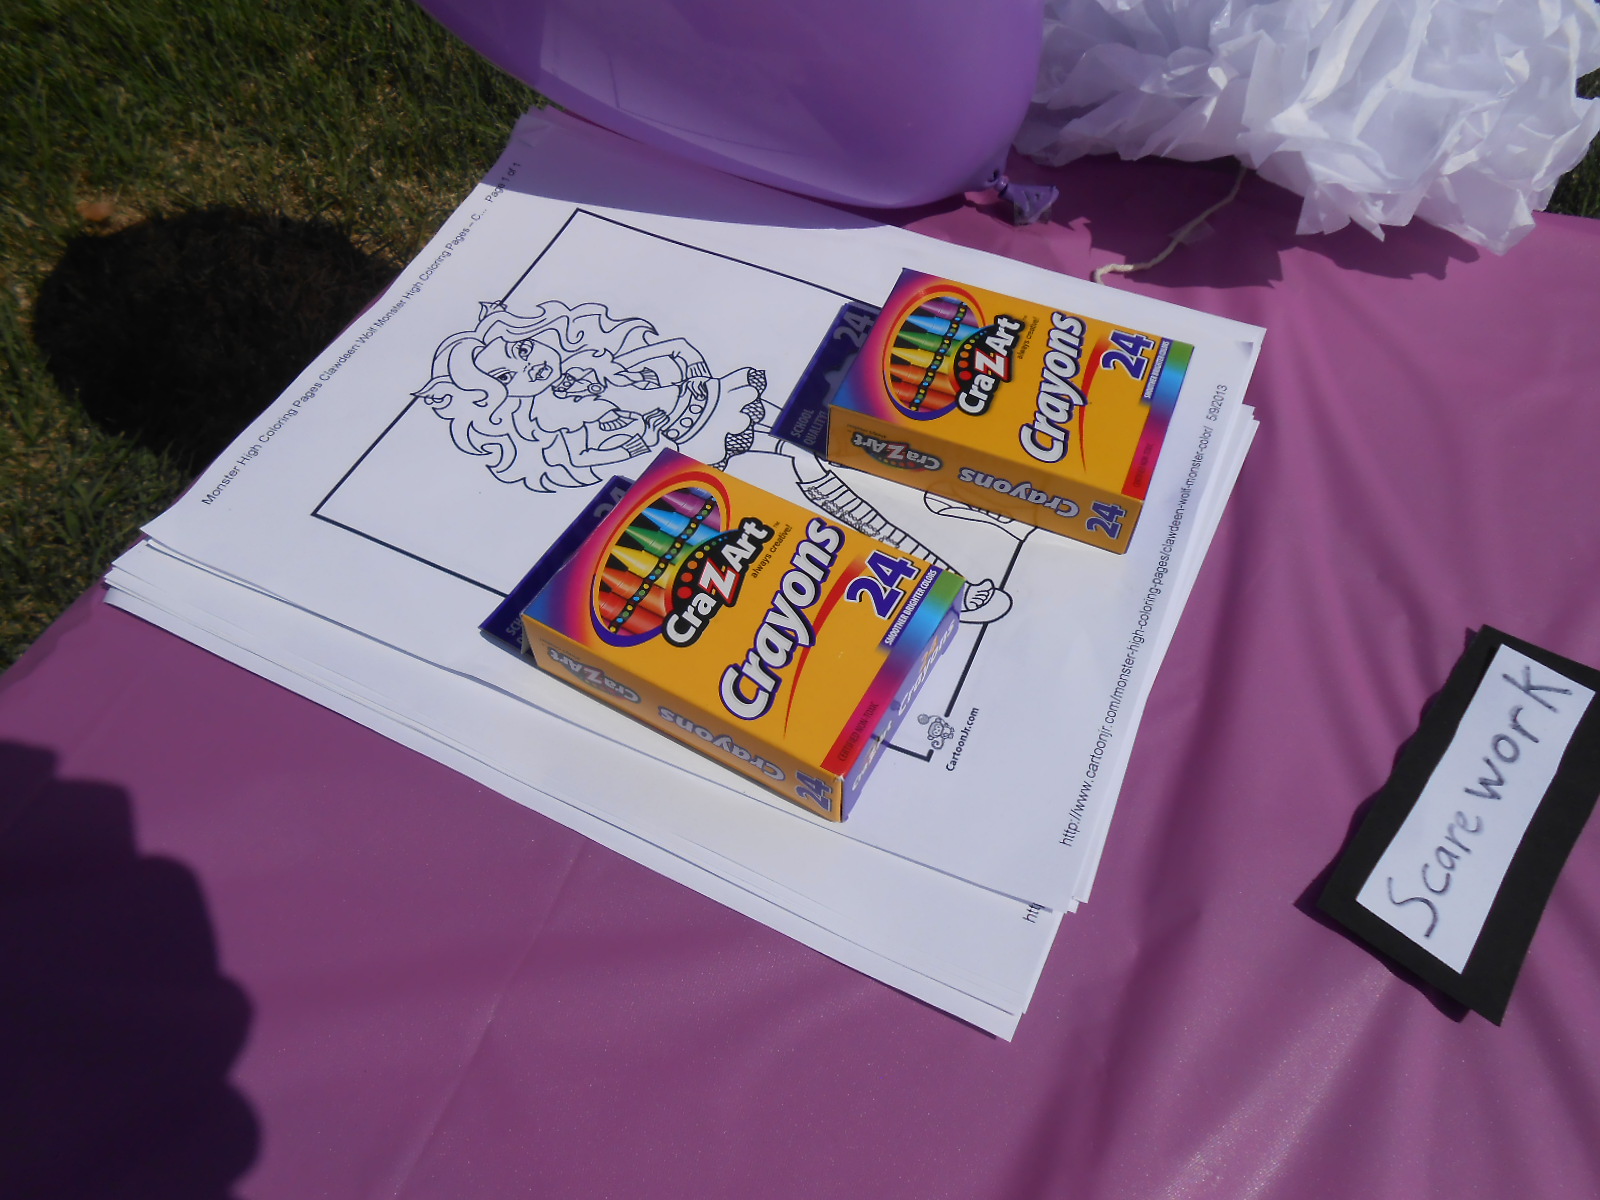
To keep them all occupied as we were waiting for some of the girls to shop up, I printed out a few pages of different Monster High characters for them to color.   Here is the link to the website I got them from: Coloring Pages.  I called it "Scarework."


So just ignore the handwritten papers....I had some cute printouts all designed to use but then when I went to print them at my sister's house her printer wasn't working and then I didn't have to time to get them printed before the party (I barely had time to shower before.....) But I wanted some fun activities so I cut out these felt masks and then had the girls decorate them with the glitter paint,  I called it "Monster Fashion."


This was a fun game!  It was called "Mummy Wrapping."  The girls all chose a partner and then wrapped their partner as a mummy.  A prize went to the best mummy.


For another activity, we did "Claw Painting."  The girls had fun painting their nails.

Next, it was time for food!  Yum!!  This is where the teaser comes in....I will do the tutorials on another post =)


Cleo's Mummy Dogs.  I used the same recipe for this as I did my mummy dogs from a few Halloween's ago.  Here is the link: Mummy Dogs (sorry the pictures aren't there....I deleted some pictures and didn't realize they were linked to the blog...)

Skelita's Sugar Skulls
(Koolaid Popcorn)

Laguna's Sushi

Ghoulia's Juice- any juice you want...I just used Koolaide =)
I forgot to get a picture of everything together so you'll have to just make do with the individual stations....I got a bit busy when 17 girls showed up instead......


Wednesday, May 1, 2013

Wild Card Wednesday: Fishing cupcake

Who's ready for Summer? I know we are at my house.
Here are some fun summer cupcake. We are ready to get out and do all the fun summer things.
Here are some Fishing cupcakes
Make your cupcake with whatever cake you want
Blue frosting
Sweetish Fish
Pretzels with floss tied to the top
So easy and so cute. Hope you all enjoy them and maybe the sun will come out soon so we can go fishing.

You can find this awesome post linked up to the following Fantastic Parties: