Showing posts with label Kid-Friendly. Show all posts

Thursday, January 23, 2014

DIY Thursday: Sock Snowmen


Look at these little guys and tell me they are not cute! My 5 year old daughter had an assignment in preschool to make a snowman but without any snow. I gave her a couple ideas and even showed her some examples on pinterest and she decided she wanted to make a sock snowman. I was totally expecting her to want to make something like a paper plate snowman but no she chose the most crafty one! So one afternoon her and I built our snowmen. Sock snowmen are really easy to make and little hands can do most of it on their own. My daughter was so excited with the finished product and couldn't wait to take it to school the next day. I think they turned out pretty good too!


To make your own sock snowman start with a white sock, one that is knee high or mid calf. This is a great project you can use those socks that end up missing their match or that have holes in them. You will then cut the sock at the heel.  Here is my sock cut in half.


Next take the part of your sock that has an opening now on the top and the bottom and put a rubber band on one of the ends. Make sure the sock is inside out!!! When the rubber band is on take the sock and fold it so the rubber band is inside and you cannot see it.


Now you will fill your sock up with beans or rice. I had lots of beans so that is what I used. Make sure to put a lot in there because this is the body of your snowman. When the sock gets full and really close to the top tie on another rubber band.


I didn't take a picture of the next few steps so I apologize. I was having fun creating and forgot to take pictures of all the steps! You now have a sock full of beans or rice. Now you will take another rubber band and tie it around the sock and form the head. You can add another to create three "balls" so to speak or just do one rubber band and have a chubby snowman like ours.

Next you will cut another sock, a cute colorful one the same exact way as we did the white sock and use it as the clothes. Slide the part with a hole on the top and bottom over your snowman. Use the toe part of the sock as the hat. Next you can embellish/decorate your snowman with buttons, flowers, jewels, etc. You can cut a strip of the sock off and make a scarf like I did for my snowman. I used a small black jewel for a nose, but orginally was going to cut a toothpick, paint it orange, and use it as a nose. I didn't have any orange paint though and couldn't run to the store cause my baby was sleeping. It just goes to show you can get creative and use whatever you want!


Now go make yourself this cute winter craft/decoration!


Monday, August 5, 2013

Munchkin Monday: Simple Paint Project

This little activity was inspired by Andrew begging to help me with a painting project I am working on in my house. So while I am not willing to let him help paint the walls of my house yet I still wanted my boys to get in on the painting fun. This is nothing ground breaking. It is paint, paper, brushes, and the outdoors.

The boys each picked a color of paint at the store and I picked the white as kind of a neutral contrast.


Yes they are naked. Sorry if that offends. Apparently I need to find a way to make some smocks. :)


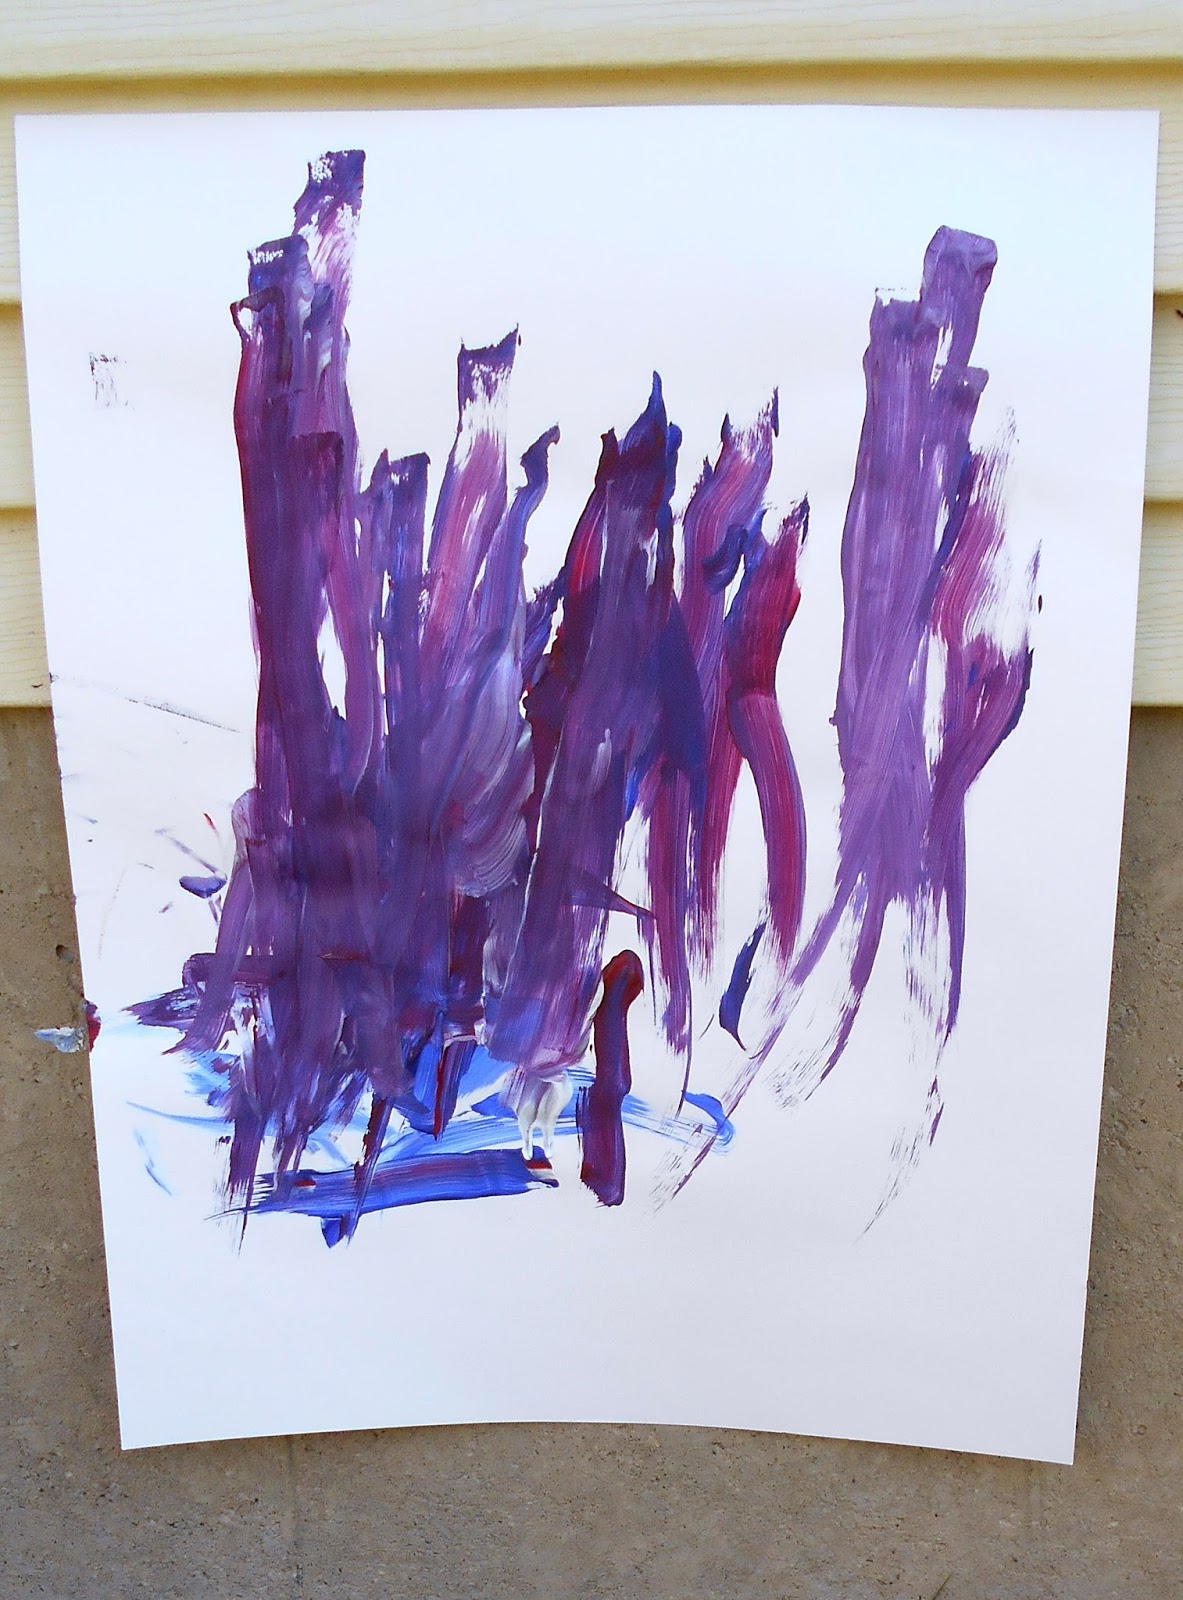
Look at my little artists. They had so much fun and it turned out to be a really good lesson in mixing colors too.


 Jacobs Masterpeice


Andrews Masterpeice


And here is whats left of the paint. Explore and create with your kids. Make memories that will last, and then go give them a bath!!!

Wednesday, July 31, 2013

Wild Card Wednesday: Cook with Your Kids by Guest Blogger Katie

Hey readers! We've got another special guest post for you! Katie is giving us some tips when it comes to cooking with the kiddos. Her bio information is at the end of the post. Thanks Katie from all of us Talented Terrace Girls for your contribution and for the great tips!

Cook with Your Kids
On busy evenings when you’re trying to get dinner on the table quickly, it’s often easiest to plop the kids in front of the TV while you whip up a quick meal.  Having kids underfoot in the kitchen might sound like a disaster waiting to happen, but getting kids into the kitchen can actually be a big help to busy moms—not to mention, it’s the perfect opportunity to spend time together!
Cooking with your kids is fun, productive and a great way to teach your kids basic skills. Use the following tips to get started:
·         Involve them in the entire process
Most kids prefer stirring and pouring to setting the table or doing the dishes, but when you cook with them it’s important to have them participate in all aspects of the meal from start to finish. Having them fold napkins and help with the dishes will help instill good cleaning habits at an early age.

·         Keep meals simple
Don’t expect kids to have the skills or patience to pull off a four course meal. When you’re first starting off, stick to basic dishes that have lots of easy steps that kids will be able to help out with. Making your own pizza is a great kid-friendly meal option, as are quesadillas, tacos and simple casseroles; they all have lots of basic components that can easily be thrown together.

·         Use kid-friendly tools
Now isn’t the time to bring out your fragile china or extremely heavy pans that could potentially crush little fingers. Aluminum pans are good options for when you’re cooking with kids because they are lighter and easier to carry than metal pans. Also, consider serving your meal on disposable plates to minimize the chances of anything breaking on the way to the dinner table.

·         Take advantage of learning opportunities
Not only does cooking with your child provide you the opportunity to teach them kitchen skills like chopping, stirring, pouring and measuring, but it can also assist kids with their reading and math skills. Practice fractions when you’re dealing with measuring cups, or if you’re doubling a recipe, have them do the multiplication themselves. For younger kids, have them read each step of the recipe out loud to improve their reading skills.

·         Clean as you go
Kids are notoriously messy creatures, so make sure you’re prepared to deal with a possible kitchen mess after you cook! To keep your kitchen looking somewhat clean, keep wet paper towels handy for possible spills and a supply of trash bags next to the counter to throw out scraps as they accumulate.

Cooking with your kids can be easy and fun – just keep it simple and be ready to deal with a few messes! The more you cook together, the better everyone will get, and the more you’ll enjoy this new family activity.

Author Bio: This is a guest post by Katie F. on behalf of Hefty®. For products to help you out in the kitchen, along with suggestions for other age-appropriate chores and activities for kids, visit www.hefty.com.

Monday, July 22, 2013

Munchkin Monday: Dessert Shish Kabob


Why is this a Munchkin Monday?? Well it is because my 9 yr old daughter is on a treat making kick! She is always wanting to make desserts and treats for us and her friends. 

This is her creation. 
1st make a box of brownies (I say box cause for kids this is her easiest option to use) 
2nd clean and cut your strawberries
3rd pull out your mini marshmallows
4th cut brownies into squares and roll into balls. 
5th put everything onto the skewers
6th serve and eat! 

p.s. If you don't roll the brownies into balls then they just pull off the skewers and fall right off. 


Wednesday, July 10, 2013

Wild Card Wednesday: New addiction!

This is Teresa! I might have a little crafting ADD. I flip between things as fast as you can change your unders.  My poor husband is so used to be collecting and going extreme for one thing and then a few weeks later it gets put away to pull something new out :) I am not sure if this is good or bad but I then save everything!! because the crafting circle always comes around and I always go back to each thing. The new addiction is......


Digital Scrapbooking!!!!!!!!!

I have always ignored digital because I have sooo much real scrapbooking supplies and I didn't want to invest a ton of money into things that aren't tangible. 

Well thanks to one of my best friends I am now Digital Scrapbooking and I have only spent $4! In 4 years she has only spent about $24. Because of all the freebies out there and having someone teach me the ropes I am glad I have started this adventure. 

What program do you use??
Photoshop
My friend searched the Adobe website and found me a FREE download! There are tons of places on you tube to go to for helpful instructions on how to use Photoshop

Best places to print?
so far I have found.....
Shutterfly and Costco (costco is cheaper of the 12x12 but doesn't have the smaller sizes) 
What are the best sites to share/ learn and earn free things?

Some of these sites have free daily downloads and they all have monthly challenges that often give you things to use for the challenge. These leave their challenges up for weeks or months so you can go back and gather some of the older ones. You do have to set up a log in for their site/store and or forum (yes 2-3 log ins per site). All of the designers have blogs and facebook with more freebies! If you join any of these sites look out for me TREEMOON. 

There are numerous things you download-Templates(a starting point for each page)
Kits-(all the goods), Alpha, Masks, Quick Pages (pages already done you just insert a picture into them). 

Lets just say I am OVERWHELMED with everything but loving the challenges. 

I will post more and let me know what you want to learn and I will give you tutorials on how to do and what to do. :) 

p.s. new fun signatures coming soon made by me (I hope).


Monday, June 24, 2013

Munchkin Monday: Banana Muffins


I love my kids, but I HATE feeding them. I am not creative when it comes to meals and snacks and we tend to get stuck in ruts where they eat the same 5 meals for weeks on end. While I have looked online (Pinterest) and there are amazing Mom's out there who put together amazing meals and take beautiful photo's of them, and while I can admire what they are doing, I need a more practical way for myself to plan meals. So I am making lists!! Yay me! One for breakfast, lunch, and snacks with recipes to go with. This way I can look at my lists before going shopping and buy accordingly and when I get home and can't think of anything to make I have a plan in place. Now my hope is to pass on my awesome lists to all of you out there but I want to test out some of the recipes first. Lets get started.

So first up is BREAKFAST! These muffins were so tasty that we made a batch two days in a row and my husband ate six for breakfast yesterday.

I adapted this recipe from thriftyfun.com you can find that link here.


This is my crazy cute helper for the day :)


Preheat oven to 375 degrees F. In large bowl combine the flour, baking soda, sugar, and baking powder. In a separate bowl mix the bananas, egg, salt, and coconut oil. I think that using a potato masher is the best way to combine the banana mixture. Also if you would prefer you can use 1/3 cup of butter in place of the coconut oil.


Stir banana mixture into dry ingredients until just moistened. Its fine if its just a little lumpy looking.


Fill muffin cups 2/3 full. It took about 2 heaping tablespoons to fill my cups. (And yes they are left over from Easter) Sprinkle the extra sugar over the muffins. You don't need the extra sugar but I liked the little extra crunch it gave. Bake for 18 to 20 minutes. Cool in pan for 10 minutes.


All that is left to do is enjoy. These banana muffins have a satisfying texture that is not to dense and not to light. A wonderful fast and easy breakfast. You could mix it up and add a little cinnamon or some chocolate chips and they would store wonderfully in the freezer.  My only warning is that one batch only makes 15 muffins so make a double batch. You are going to need it. 


Banana Muffins

Ingredients:

  • 1 1/2 cups all purpose flour
  • 1 tsp. baking soda
  • 3/4 cup sugar, plus a little extra for sprinkling on top
  • 1 tsp. baking powder
  • 3 large ripe bananas, mashed
  • 1 egg, slightly beaten
  • 1/2 tsp. salt
  • 1/4 cup coconut oil, melted

Directions:

Preheat oven to 375 degrees F. In large bowl combine the flour, baking soda, sugar, and baking powder. In a separate bowl mix the bananas, egg, salt, and coconut oil. Stir banana mixture into dry ingredients until just moistened. Fill muffin cups 2/3 full.
Sprinkle the extra sugar over the muffins. Bake for 18 to 20 minutes. Cool in pan for 10 minutes.


Monday, June 17, 2013

Munchkin Mondays: Summer Fun at Station Park with Radio Disney

Hey everyone I just wanted to share this fun activity with you. Station Park in Farmington, Radio Disney, and  Macaroni Kid is teaming up this summer the first Monday evening of every month for Family First Mondays.

From 5:30pm to 7pm you can go enjoy free family fun. I haven't been to one yet but we are planning on being at the next one on July 1st for the Beach Party Bash! It would be fun to see you all there.

top image
The below came from the Macaroni Kid website. If you want to see more here is the link.
FAMILY FIRST MONDAYS

Radio Disney and Macaroni Kid are hosting Free Family Fun on the first Monday of every month in The Village at Station Park! 

July 1 Beach Party Bash
Aug 5 Planes’ Powwow
Sept 2 Sofia the First Shindig
Oct 7 Doc McStuffin Day

For all of you who have never seen or heard of Macaroni Kid it is a great website and group that keeps track of and creates fun activities for kids in the Farmington-Layton area. You can sign up to get a weekly e-mail from them listing all the activities in your area. Check it out and I hope I will see some of you there.


Wednesday, May 1, 2013

Wild Card Wednesday: Fishing cupcake

Who's ready for Summer? I know we are at my house.
Here are some fun summer cupcake. We are ready to get out and do all the fun summer things.
Here are some Fishing cupcakes
Make your cupcake with whatever cake you want
Blue frosting
Sweetish Fish
Pretzels with floss tied to the top
So easy and so cute. Hope you all enjoy them and maybe the sun will come out soon so we can go fishing.

You can find this awesome post linked up to the following Fantastic Parties:


Monday, April 29, 2013

Munchkin Monday: Grass Heads!


My daughter has always wanted a Chia Pet. The problem is I have never wanted to spend the money on something we would use for a few weeks and then have to store forever. Then I saw a picture online of a grass head and thought... We could totally make those.

You will need:
Knee High Nylons
Dirt
Grass Seeds
Googly Eyes

If you have a Walmart near you they have Knee Highs for $.33. You will find them near an end cap with the nylons and in the candy machine plastic clam shells.
Place the grass seed into the toe of the nylon and then add the dirt. Stretch the nylon while you tie a knot in sock. I wasn't sure what to do exactly with it so we grabbed bowls and placed the heads in the bowls. When the kids water them they just fill them to eye level and they soak for a few days. This isn't an issue but they stay really wet all the time and I worry a tiny bit about mold. An easier way to do this would be save a yogurt container (something with a smaller diameter than your grass head) and let the tail of the sock hang into the container. Then you fill the container and the tail will absorb and pull the water into the head.  I didn't think of this idea until we cut our tails off.  Glue your eyes on and you are good to go. I think hot glue would work the best and not wash off.


Here are our heads with a few days of growth


I made this picture so it would be easy for you guys to pin it and remember everything!


This is what happens if you use Elmers glue. Yes that is an eye in the bottom of the bowl. My daughter thought it was funny and poured the water right onto the eyes and they washed off. :(