Showing posts with label Teresa. Show all posts

Wednesday, January 15, 2014

Amazing Cinnamon Rolls

This is the only picture I can find of the Cinnamon Roll! Weird I don't have a picture of it cooked or frosted. Hopefully I can edit these pictures with watermarks and frosting later. (it means I get to make more cinnamon rolls, which seems to be a popular request on fb today)

Cinnamon Rolls Teresa Moon

4 c. warm water (110°)
1 1/8 c. oil                     Mix first 4 ingredients let rest 15 min if you don’t see the yeast
1 c. sugar                        raising then it might be dead! And you will need to start again.
6 Tbsp. yeast

4 tsp. salt                 3 eggs                     10-13 c. flour


Mix last remaining ingredients together. Separate into 2 balls let rise for 10 min. Roll out the first ball on a floured countertop roll it thin about ¼ inch thick onto a rectangle. Preheat oven to 350°.  Get ½ cube of margarine or butter and some brown sugar and cinnamon. Melt the margarine and cover the rolled out dough in a thin layer of butter and then cover with brown sugar and some cinnamon. Cut the dough in half then in 12 strips 6 on each side. Take your first strip fold it in half and twist the strip and then roll into the cinnamon roll shape tuck the edge under and pinch it so it will stay tucked. Do this with all 12 strips. I put 6 rolls on each cookie sheet after they are on the cookie sheet let them raise for about 10 more minutes and then bake 350° for 10-13 min. Let them cool frost them and enjoy!!!

This is how I roll out my cinnamon rolls I know it looks a little odd but I promise it makes sure you get a little sugary in every bite and no just bread bites.

 I use a plastic knife to cut on my table :) 
 Twist and shout!!

Lets be honest the worst cupcakes, breads, or cookies can be made AMAZING with the perfect frosting! Pile it on and love the goodness :) 
Freakin’ amazing cinnamon roll frosting!!
Teresa Moon

1 lb butter, softened ( ½ butter and ½ margarine is fine too)
1 bag powder sugar 4-6 cups
1 cap vanilla
1 cap almond
8 oz. cream cheese, softened

Beat cream cheese and butter together add the vanilla and almond and then slowly add the powdered sugar. Frost your cinnamon rolls and enjoy!

Wednesday, October 2, 2013

Halloween Photo Booth Props

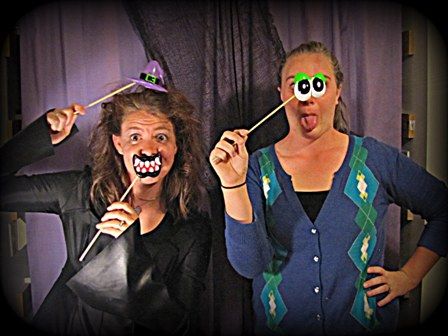
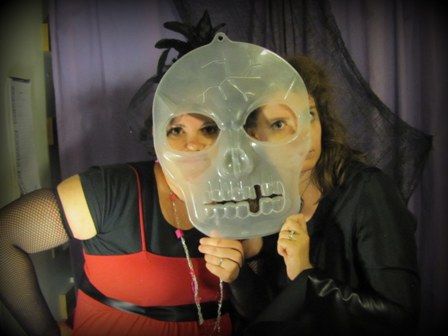
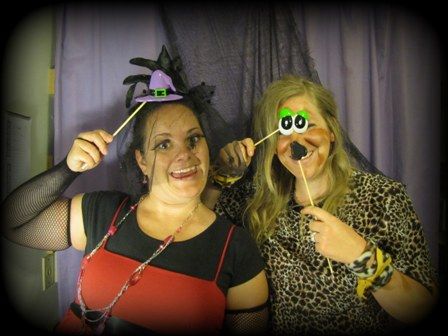
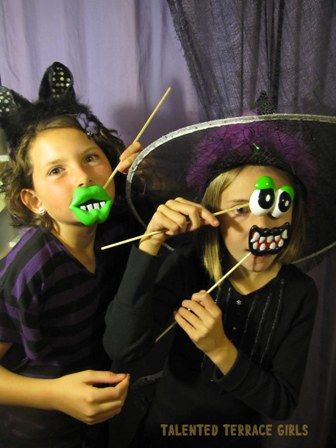
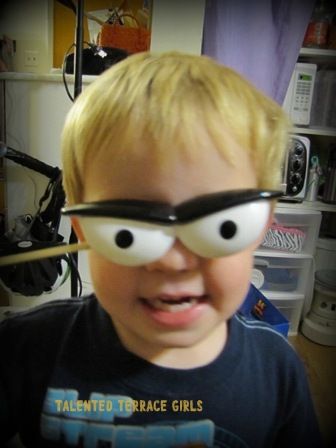
I love the photo booth craze going around. Mainly cause I love being crazy and taking pictures. I don't really love the printable paper props because I want something that will survive kids and multiple uses. First here are a few pictures of us playing in the photo booth cause lets be honest that is what this is about. Then I will show you pics and explain how to make these super easy props. 


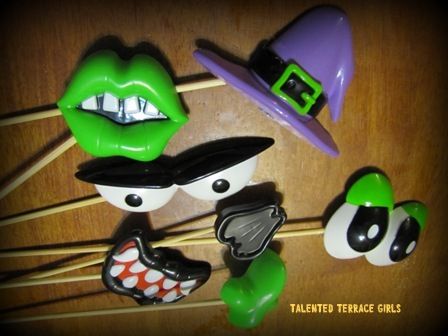
See those fun props?
They are made with the plastic pumpkin push in decorations.
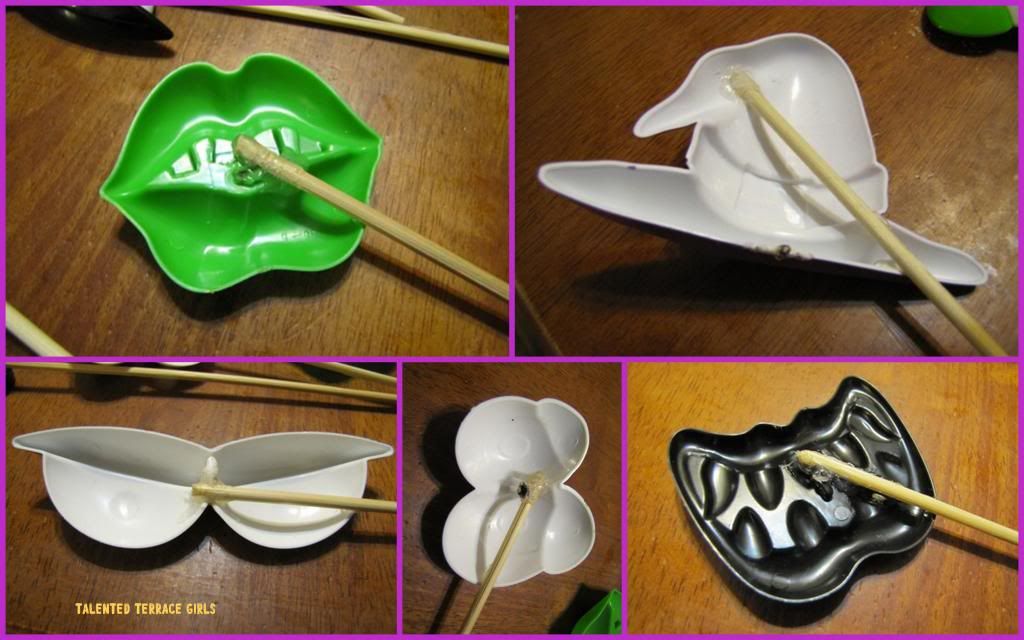
All I did was cut the spikey part off the back of the parts. I can't remember what I used (cause I am awful) but I either used scissors or my wire cutters. Then I used a lighter and melted the sharp parts just enough to make sure it was smooth
You can see some used examples of them in their pumpkins here, here or here

Then I used a skewer and hot glued it onto the back. I glued the skewers on at an angle to try to keep your hands off to the side and not in front of your face.
These are really sturdy and none of the skewers have popped off the back and they have been used multiple times and been stored for a year. 
Thanks and enjoy!! 


Tuesday, October 1, 2013

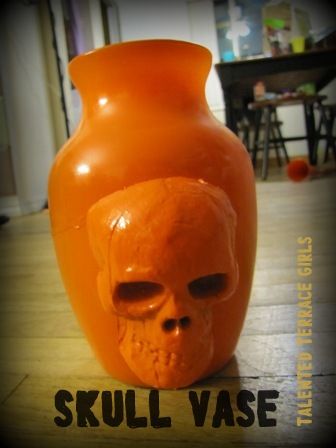
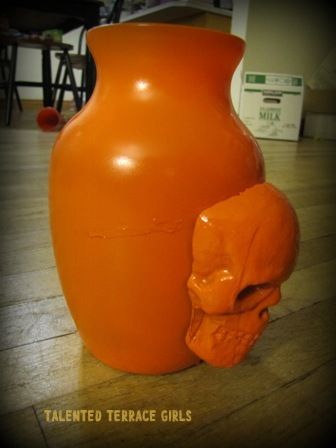
Skull Vase

First I want you all to know this vase is in backgrounds of numerous other pictures because I might have made it last year took pictures and didn't get it posted :( I know I am lame but I promise there are many many more posts like this.. yes I am meaning taken at least a year ago and then I finally get them up for you all to see. 
Also I took pictures as I made it and now I can't find them so good thing this is such an easy project.

Dollar Store Vase
Foam skull small enough for your vase
spray paint
adhesive
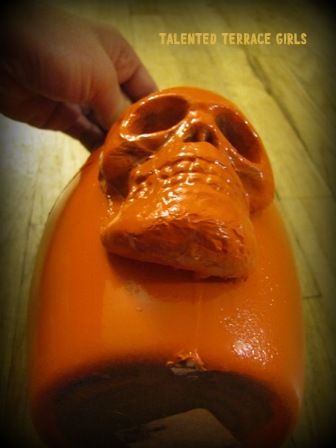
 First cut the back of your skull off! As you are cutting it off look at the curve of your vase and try to match it as close as possible so the skull will lay more flush making it look like 1 item. I used my kitchen bread knife and then a smaller knife and my nails to get the curve I needed. 
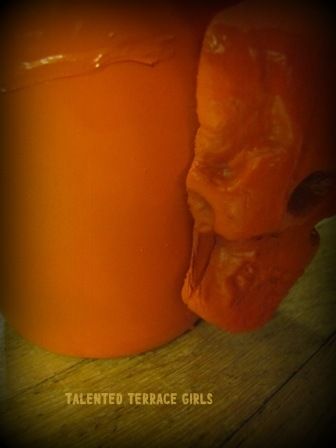
Then I glued the skull onto the vase. I used Elmers glue and it was BAD!!! If you look at my vase you can see streaks from where the glue ran while it was drying. Then I used hot glue and it melted part of my foam skull. So I would recommend using a glass adhesive ( I still don't have one cause I haven't glued anything else to glass) If you have to use one of the 2 mentioned I would go with Hot Glue it dries so much quicker and didn't streak. 
You have to be patient if you have a longer drying glue now is the time to leave your pretty vase and let it dry until tomorrow when you can paint it :)

 Now take your vase outside and spray paint it the color of your choice. I focused mainly on the outside of the vase because no one can tell you didn't do the inside. :) 

here is a background picture of the vase with crepe paper roses in the vase which I either need to make again or buy cheap dollar store Halloween flowers. 


Monday, September 30, 2013

Spider Fun

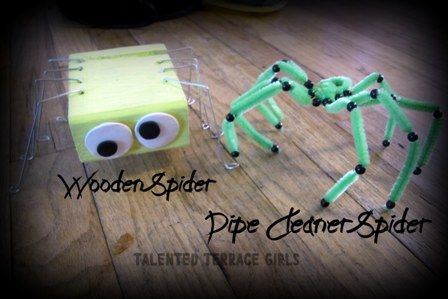
I love Halloween and all the decorations and costumes that go with it :) Today's post is all about spiders. We are going to make 2 spiders today and both are super easy and inexpensive.


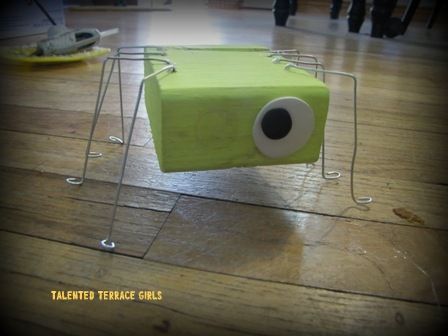
Lets start with our wooden spider
you will need-
a short length of 2x4
wire (guage16 or smaller, you can use a wire coat hanger)
wire cutters
hot glue gun
drill
and small circles for eyes (I made mine out of sculpty)
paint

Here are your measurements. I will explain it simple now.....take a 2x4 board and cut it about 2 1/2-3 inches long. Yep it is that easy. :)

Sand and paint your block/blocks. I painted mine neon yellow.
then drill 4 small holes on the side of your spider. The ends that have been cut.
Now attach your eyes there are many options. Googley eyes, a wooden circle painted to look like eyes or make your eyes out of sculpty (I did sculpty so I didn't have to paint)
I hot glued my eyes on
now lets focus on those legs.
Cut your wire about 5-6 inches and make 8 lengths.
This part is the tricky part. You need to have 3 bends for each leg and the twist for the feet
lets start at the feet-make a small twist and then bend the wire up so your twist can sit flat on the surface. Once you bend your leg up let that length (the main height) be about 2-3 inches long then bend to over about 1 inch and then you should have a smidge left to bend down into your drilled hole.
that sounds confusing so lets just say you want a little to stick into the hole and then you want the rest of the leg to bent how it looks in the picture :)
Glue each leg into place so it doesn't fall.


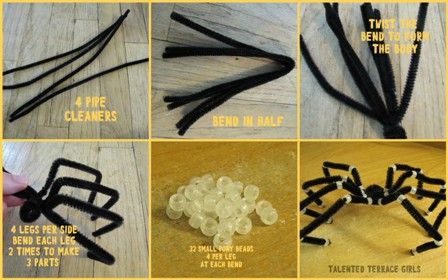
Pipe Cleaner Spider
There are your instructions :) simple and fun

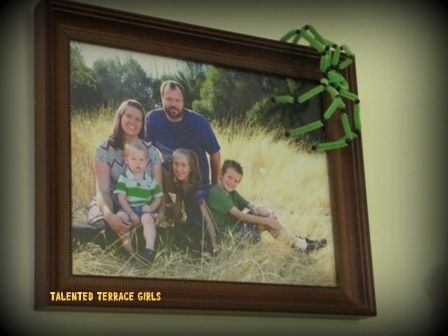
I love hanging the spiders off frames and my wall clock. Every time I check the time on the clock it makes me smile :)


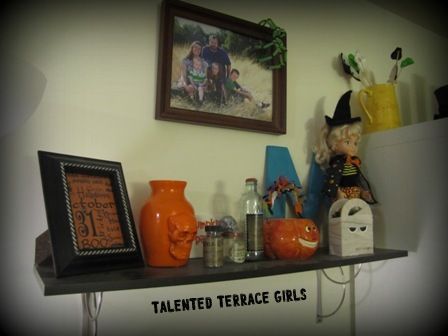
Here is my fun holiday shelf. This is the main place I decorate every season. I had told some of the other girls about my shelf and they wanted to see it.

Wednesday, September 25, 2013

Scrappin' Addiction: Joyful Expressions Sale!!

Have you stopped by the Joyful Expressions' store lately? It is packed full of sales. Here's a look at this week's sales:


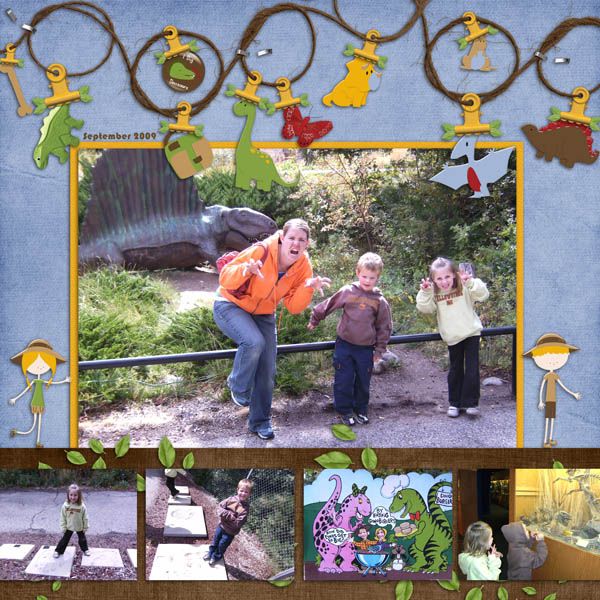
Both Trinity and Teresa snagged their sets of the Dinosaur Dig.  Here in Ogden, we have the Dinosaur Park.  It is tons of fun for the kiddos.  This was the perfect kit for us to use to scrapbook the fun times we have there!!!


Teresa


Thursday, September 12, 2013

Scrappin' Addiction: Peachy

Today I have another new mini kit to share. This one is called Peachy and is a pretty peach, white and gray color combo. If you were at the Speed Scrap Anchored Heart Studio hosted last month, you might have gotten this adorable little kit as your participation prize. If you weren't, now is the time to snag it for your stash while it's on sale for $1.49 until 9/18. Let's get a look at the preview and then keep scrolling for some layout inspiration...there's info about the coordinating freebie at the bottom:


From Anita:


From Teresa:

And, a few from DanaJ...
(including a new desktop background using the SNP Desktop Challenge directions for September)


You might have noticed some extra papers in the layouts above that aren't in the mini kit--you will be able to add those to your stash for FREE if you stop back by the AHS blog tomorrow!

Saturday, September 7, 2013

School Zone

Do you have some fun back to school pictures?? Here is a kit from Crescent Moon Designs to help you keep those memories! 
You can get this kit at Scrap N Pieces or Stuff to Scrap 
If you get it now it is 40% off!!!!! 


Monday, August 26, 2013

Speed Scrap!

Want to try a Speed Scrap? Do you know what a speed scrap is? A speed scrap is when you go to the forum that is hosting the speed scrap (Scrap N Pieces tomorrow morning) and one of the designers will give you 7 instructions over 1 hour and then you get an additional hour to finish your page and get it uploaded to the sites gallery and in the forum thread. I did a speed scrap for my very first completed page and I love doing them. They force you to try new LO and new techniques plus you get super cute and fun things for FREE!! Anchored Hearts Studio is hosting the SS tomorrow and she is giving away a fun mini kit brand new into her store. I love the color pallet with this kit it is super unique and beautiful.

Join Dana in the forum and chat room over at SNP for a fun speed scrap on 8/27/13 at 9am CST (7am PST, 8am MST, 10am EST).  The flier below is linked to the Speed Scrap forum and the instructions promise to be easy enough for those of us that will be multitasking at the same time.  ;)


The free prize for those that complete and post layouts on time will be the newest Anchored Hearts Studio mini kit, Peachy (pictured below).


Hope to see you there, even if it's only to say "hello" for a few minutes!